Make a Riser or Whoosh With an Audio Reverser

The fastest way to make a riser or whoosh is to take a sound that decays, like a crash cymbal or a reverb tail, and flip it with a free Audio Reverser so it swells up instead of dying away. Four short recipes below cover a reverse crash into a downbeat, a white-noise riser, a reverb whoosh and a swell-plus-impact hit, each in a few minutes with browser tools.
Everything here runs in the browser. Your audio never leaves your device, and there's no account or upload step. If you just want to play a file backwards, How to Reverse Audio (Play It Backwards) covers the basics, and Reverse Reverb Swell With an Audio Reverser handles the vocal version of this trick. This one is about transition sound design for drops, beat changes and video cuts, and it sits alongside the other step-by-step how-to guides.
Why an audio reverser turns a decay into a riser
A riser is a sound that builds in level into a section change. A whoosh is a shorter, airier version, usually heard under a cut.
Most percussive sounds share a shape: a sharp attack, then a long fade. A crash cymbal hits at full level and rings down over a few seconds. If you look at the waveform, it's a spike on the left tapering off to the right.
Reverse it and the shape flips. The quiet end comes first, the level climbs steadily, and the loudest moment arrives at the very end of the file. Your ear hears that rising level as tension building toward something. It's the same reason backmasking sounds so uncanny: reversed sound has envelopes that never happen in nature, so it grabs attention.
The important consequence for timing is that the peak of a reversed hit is at the end of the file. Line up the end, not the start, with the moment you want it to hit.
What you'll need
- A decaying sound you own or are licensed to use: a crash or ride cymbal, a snare, a clap, a door slam, a piano chord. A file you already have on your drive is perfect. The Audio Reverser accepts MP3, WAV, FLAC and M4A.
- For video work, the audio from your own footage. The Video to Audio tool pulls the soundtrack out of an MP4, MOV, WebM or MKV file on your device. Extract it, flip the hit you want, and drop it back on your timeline; that's all a video audio reverser really does.
- Headphones. Risers start very quietly, and laptop speakers hide the first half of the build.
Export every in-between step as WAV, since stacked MP3 encodes add artifacts each round. Most of these tools default to WAV; the Noise Generator defaults to MP3, so switch it. Save MP3 or Opus for the final file (Opus is hidden in browsers that lack support, including Safari).
Recipe 1: a reverse crash into the downbeat
This is the classic EDM transition: a cymbal that sucks upward into the drop.
Find the tempo. If you're building for a specific track, run it through the BPM Finder. One bar of 4/4 lasts 240 ÷ BPM seconds, so a bar at 128 BPM is 1.875 seconds and a bar at 120 BPM is exactly 2 seconds.
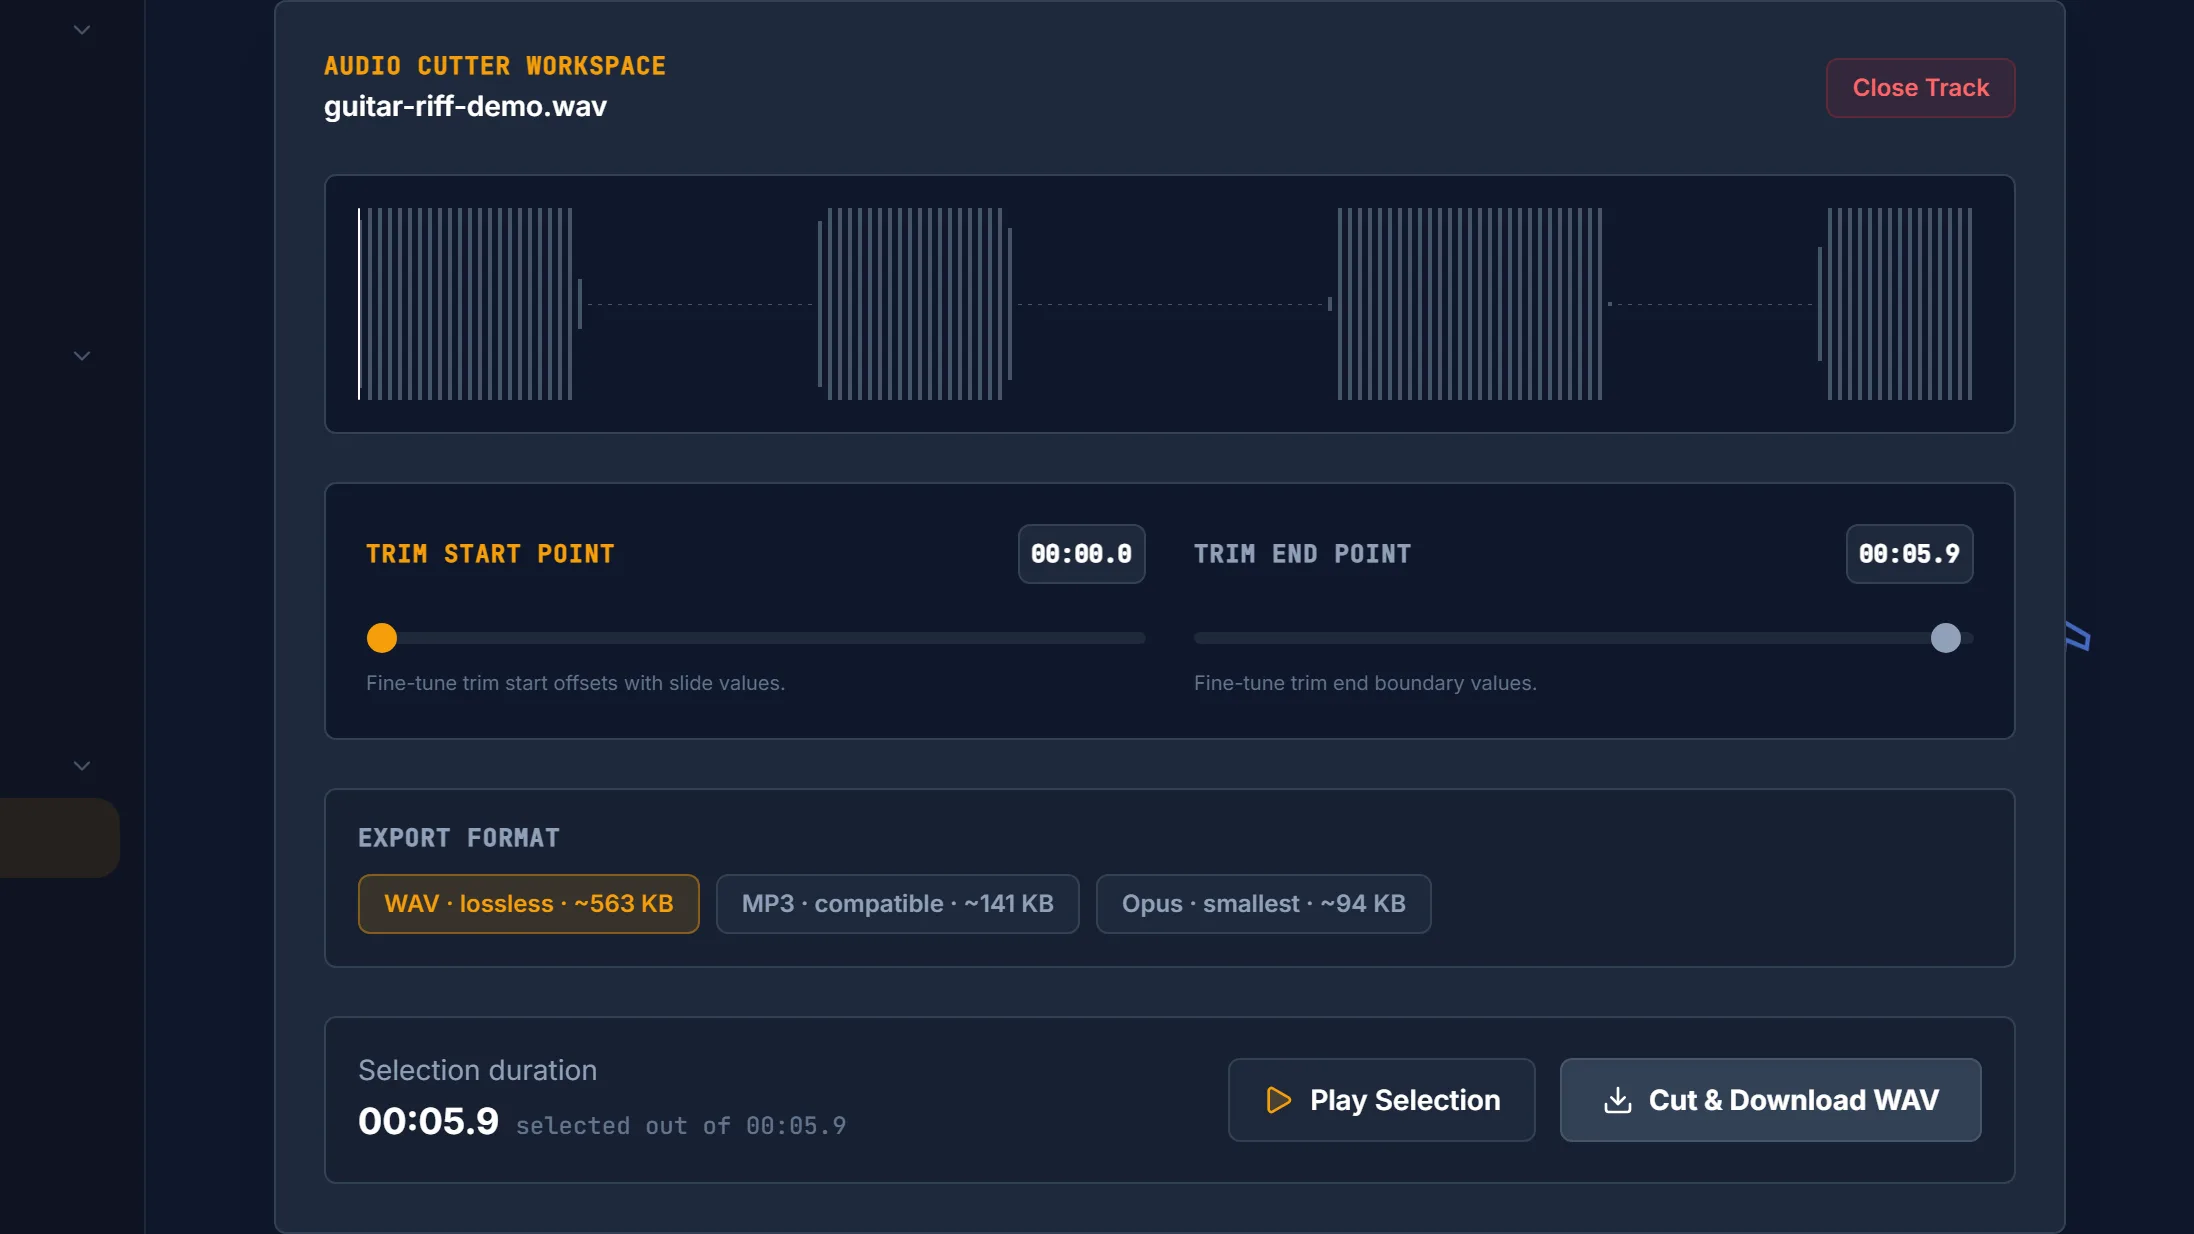
Trim the crash to the riser length. Open the crash in the Audio Cutter. Set Trim Start right at the attack and Trim End one bar (or two) later. The length of the decay you keep becomes the length of the riser. Export WAV.
Smooth the cut end. Chopping a ringing cymbal mid-decay leaves an abrupt edge, and once reversed that edge becomes the very first thing you hear, often as a tick. Load the trimmed file into Audio Fade, set Fade in to Off, and give it a short Fade out of 0.2 to 0.5 seconds. Audio Cutter: Why Abrupt Cuts Click and Pop explains what's happening there. Export.
Reverse it. Drop the file into the Audio Reverser. It shows "Reversing…" briefly, then a play button to preview. Click Export WAV. The download is named
reversed_plus your original filename.Place it. In your DAW or video editor, slide the clip so its last sample lands on the downbeat.
Recipe 2: a white-noise riser
Noise risers are the other staple of dance music, and you can make one without any source sound at all.
- Generate the noise. Open the Noise Generator and pick White for a bright, hissy riser or Pink for something softer. Brown Noise vs White Noise explains how the colors differ. The Soften highs slider rolls off the top end if pure white noise is too harsh.
- Export a file. Under "Download a loopable file," choose 30 s, switch the format to WAV, and click Download WAV. The noise is synthesized in your browser, so there's no file to fetch.
- Fade it in. Load the noise into Audio Fade. Set Fade out to Off and Fade in to your riser length: 7.5 seconds is four bars at 128 BPM. Pick the Slow start shape. It stays quiet for longer and climbs hard near the end, which sounds more urgent than a linear ramp. Export WAV. (How to Fade Audio In and Out (Free) goes deeper on the shapes.)
- Trim to length. In the Audio Cutter, keep 0 to 7.5 seconds and export. That's your riser, ending at full level.
Optional polish: before the fade step, add space with the Hall preset in Audio Reverb, or use the Equalizer to pull down the 80 Hz and 240 Hz bands so the riser stays out of the bass.
Recipe 3: a whoosh from a reverb tail
A whoosh is a reversed reverb with no dry sound left in it. It works well under a video cut or a podcast segment change, where a cymbal would sound too musical.
- Start with a short hit. A clap, a snare, a finger snap or a single word works. Trim it tight in the Audio Cutter.
- Make it all reverb. Load it into Audio Reverb and pick Cathedral (5.5 s decay), or push Decay time toward its 8-second maximum for a longer sweep. Set Reverb amount to 100%, which the tool describes as reverb only. Raise Brightness for an airy whoosh, lower it for a darker, rumbling one. Export WAV. The export runs longer than your clip by the decay time plus pre-delay, so the full tail is captured.
- Reverse it. Put the file through the Audio Reverser and export. You now have a wash that builds out of nothing and stops dead.
For a rhythmic version, use the Echo Effect instead of reverb in step 2. Set Delay time to a note value of your tempo (250 ms is an eighth note at 120 BPM) and raise Repeats. Reversed, the echoes arrive in time, getting louder as they approach the hit.
Recipe 4: swell, then impact
A riser on its own can feel unfinished. Pair it with the forward hit and you get the swell-and-slam heard in trailers and big drops.
- Make a reversed crash or whoosh using Recipe 1 or 3.
- Open the Audio Joiner, add the reversed file first and the forward hit second, a kick, a crash or a low boom.
- Leave Crossfade between tracks set to Off, so the peak of the swell runs straight into the attack of the impact. Audio Joiner: How to Crossfade Two Tracks covers when overlap does help.
- Export, and place the file so the impact sits on the downbeat or the cut.
What these tools can't do
The honest limit: nothing here automates a parameter over time except volume. Audio Fade shapes the level, but the Noise Generator's Soften highs slider, the Equalizer bands and the reverb Brightness are all fixed settings for the whole export. The export uses wherever the slider sits.
That rules out two common riser tricks: a low-pass filter that opens up over the build, and a pitch that climbs toward the drop. Both need automation lanes in a DAW, where you can draw a filter cutoff or pitch curve across the clip. A good split is to make the raw material here (the reversed crash, the faded noise, the whoosh) and do the sweeps in your DAW.
Troubleshooting
The riser ends early or late against the beat. Remember that the peak is at the end of the reversed file. If it still feels off, the trim in Recipe 1 didn't match a whole number of bars; recut the original at 240 ÷ BPM seconds per bar.
There's a tick at the start of the reversed crash. The cut end of the original cymbal wasn't faded. Add a short fade out before reversing, not after.
The whoosh is too quiet. A long, fully wet reverb spreads the energy thin. Use a louder source hit or a shorter decay.
Frequently asked questions
Why does a reversed cymbal sound like a riser? A cymbal hits at full volume and fades over several seconds. Reversing it flips that envelope, so the sound starts quietly and grows steadily louder until it peaks at the very end of the file. A rising level reads to the ear as building tension, which is exactly what a riser is for. That's why the end of the reversed clip, not the start, should line up with your downbeat.
Is there a free audio reverser that works without uploading files? Yes. Vocal Cut's Audio Reverser runs in your browser, so your audio never leaves your device and there's no account to create. It accepts MP3, WAV, FLAC and M4A, lets you preview the reversed audio, and exports WAV, MP3 or Opus where the browser supports it. Opus is hidden in Safari. It reverses the whole file, so trim the part you want first.
How long should a riser be? Most risers last one, two or four bars, so they finish exactly on a section change. One bar of 4/4 lasts 240 divided by the BPM in seconds: 1.875 seconds at 128 BPM, 2 seconds at 120 BPM. A four-bar noise riser at 128 BPM is 7.5 seconds. For video, there's no tempo to match, so time the peak to the cut and let the length follow.
Can I add a filter sweep or pitch rise to a riser in the browser? Not with these tools. Audio Fade automates volume over time, but the Noise Generator's Soften highs control, the Equalizer and the reverb Brightness setting stay fixed for the whole export. A low-pass filter that opens up or a pitch that climbs toward the drop needs automation in a DAW. Make the raw reversed or faded sound in the browser, then add the sweep there.