Reverse Reverb Swell With an Audio Reverser
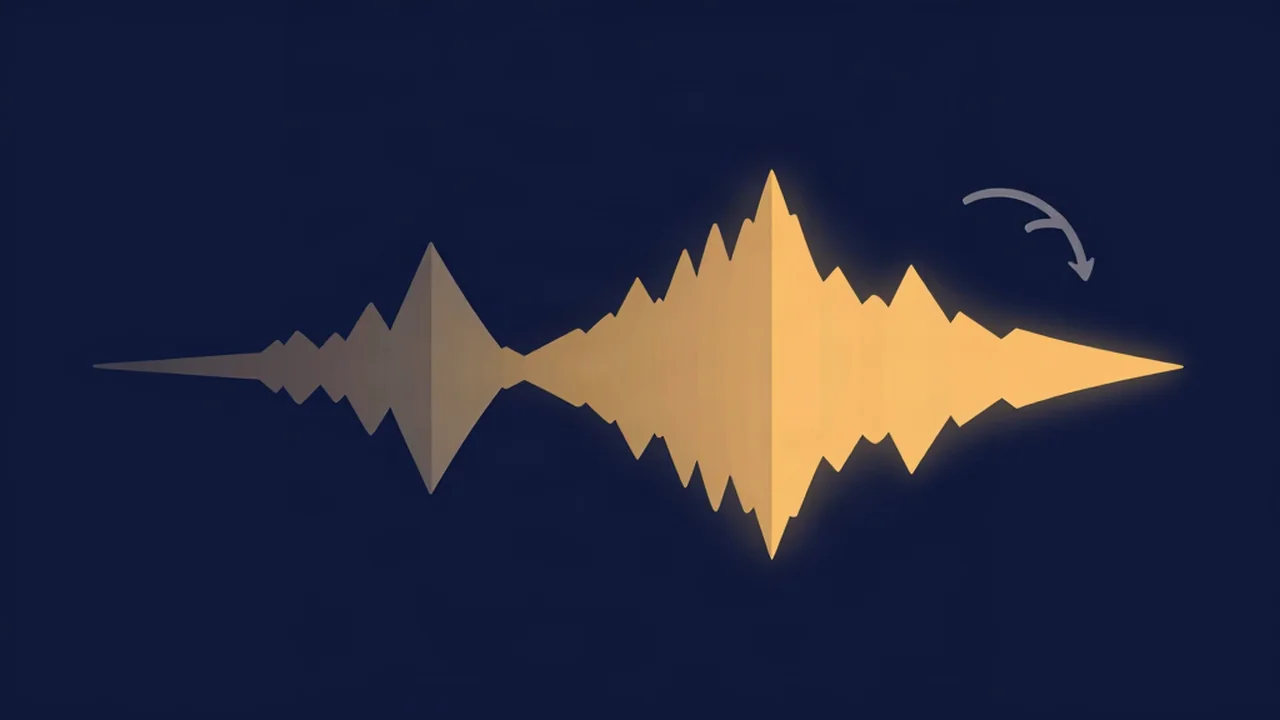
To make a reverse reverb swell, run your clip through the free Audio Reverser, add a long reverb to the backwards version in Audio Reverb, then reverse the result again. The vocal plays forward as normal, and the reverb that used to trail after each word now rises up into it. The whole thing takes a few minutes and three exports.
You don't need an audio reverser app or a DAW for this. Both tools run in the browser, your audio never leaves your device, and there's no account to make. If you only want to play a file backwards, How to Reverse Audio (Play It Backwards) covers that. This guide is about one specific trick built on top of it, sometimes called pre-verb.
Why two passes through the audio reverser work
Reverb normally happens after a sound: the word lands, then the room answers. Flip the clip first, and the end of each word now comes before its start, so the reverb you add rings out behind what was originally the beginning. Flip it back and two things happen. The vocal is reversed twice, which puts every sample back in its original order. The reverb is reversed once, so it now builds toward each word instead of fading away from it.
One detail makes the method possible here. When Audio Reverb exports, it lengthens the file by the decay time plus the pre-delay, so the tail that rings past the end of the clip gets captured instead of chopped off. After the second reversal, that extra tail sits at the very front of the file. That's your swell.
What you'll need
- A short, dry clip: one phrase, a single word, a snare hit or a guitar chord. If the vocal is buried in a full song, How to Make an Acapella: 3 Methods Compared walks through getting it out. The Vocal Remover is the AI option there; its first run downloads a model and takes real time, so start it before you plan anything else.
- The Audio Cutter, because the Audio Reverser flips the entire file. There's no selection range, so trim to the part you want first.
- Headphones. Swells start very quietly and laptop speakers hide most of the build.
Export every in-between step as WAV, the default format in all of these tools. You'll encode the same audio three or four times, and stacking MP3 encodes adds artifacts each round. Lossy vs Lossless Audio: Which to Use explains why. Save MP3 for the final file if you need it smaller.
Method A: a swell before every word
This is the quick version. The reverb stays mixed with the vocal, so every word in the phrase gets its own reversed lead-in.
- Trim the phrase. Open the Audio Cutter, keep only the line you want, and export WAV.
- Reverse it. Drop the trimmed file into the Audio Reverser. It shows "Reversing…" while it works, which takes a moment on a long file. Preview it with the play button, then click Export WAV.
- Add a big reverb. Load the reversed file into Audio Reverb and pick Hall (2.8 s decay) or Cathedral (5.5 s). Push Reverb amount well above the preset, somewhere around 60–80%, so the tail is loud enough to register as an effect. Export WAV. The file comes out longer than the one you loaded.
- Reverse it back. Run that file through the Audio Reverser again and export. This is your finished clip.
Listen to the result. The vocal itself sounds forward and normal, with a ghostly reversed wash sucking into each word. The file also starts with a few seconds of swell before the first word, equal to the decay time plus pre-delay, so line it up in your project with that offset in mind.
Method B: the classic swell into the first word
This is the version you hear at the start of a vocal line or right before a chorus. Only the swell is printed, then it's placed in front of the clean vocal.
- Trim and reverse exactly as in steps 1 and 2 above.
- Print the reverb on its own. In Audio Reverb, set Reverb amount to 100%, fully wet. The slider's hint says it plainly: 100% is reverb only, with none of the original signal. Pick a decay, then export WAV.
- Reverse it back in the Audio Reverser and export WAV.
- Keep only the pre-roll. Open that file in the Audio Cutter and keep the section from the start up to the moment the first word would begin. That stretch is about as long as decay time plus pre-delay: roughly 2.84 seconds with the Hall preset. Export it.
- Join swell and vocal. In the Audio Joiner, add the swell first and your original dry phrase second. Leave "Crossfade between tracks" at Off, its default, so the vocal starts the instant the swell ends. Export.
A sequential join has a real limit. The joiner puts files end to end, so it can't lay the swell underneath the vocal. That's fine for a swell that ends exactly where the word starts, which is the classic use. If you want the reversed wash to keep going under the singing, you need a multitrack editor or DAW to stack the two files.
Pre-delay changes the landing. At 0 ms, the swell runs right up to the word. With the preset's 40 ms, there's a tiny gap just before it, a beat of air that can sound more natural on speech.
Choosing the decay length
Decay time sets how long the build lasts, and longer isn't automatically better. A huge Cathedral tail takes over five seconds to build, and most of that time it's nearly silent, so the swell can feel like it starts late. A medium Hall decay usually gives the most obvious rise. Go long when you want an ambient fade-up out of nothing, as in a horror cue or a drone intro.
To land the swell on the beat, match its length to the tempo. One beat lasts 60 divided by the BPM in seconds, so at 120 BPM a beat is 0.5 s and a bar of 4/4 is 2 s. Set Decay time so decay plus pre-delay equals a whole number of beats, for example 2.0 s decay with 0 ms pre-delay, or 1.9 s with 100 ms, for a one-bar swell at 120 BPM. If you don't know the tempo, the BPM Finder will tell you.
Where reverse reverb gets used
- Vocal intros. A swell in front of the first word is a stock move in rock and metal intros, and it sounds properly eerie in horror trailers and ambient tracks.
- Transitions. A reversed tail on the last word of a verse pulls the listener into the next section.
- Snare and drum swells. Run a single snare hit through Method B and drop the swell one bar before a drop or chorus.
- Guitar and piano. One chord with a long tail turns into a pad that rises out of silence.
If you want the same flip-process-flip idea with repeats instead of a wash, try it with How to Add Echo to Audio (Free Echo Effect) and you'll get a reverse delay.
Troubleshooting
The swell is too short or barely audible. Increase Decay time, or raise Reverb amount in Method A. Remember the front of the swell is the quietest part, so check on headphones.
The swell sounds muddy or hissy. The reverb is synthetic, generated in code from decaying noise, and long tails can sound like hiss once reversed. Lower Brightness to darken the tail, or shorten the decay. If the source already has room sound on it, the reverb doubles up, and How to Remove Echo and Reverb from Audio helps you start drier.
There's a click where the swell meets the vocal. That's a cut landing mid-waveform. Audio Cutter: Why Abrupt Cuts Click and Pop explains the cause, and a very short fade on the edit point usually fixes it, as shown in How to Fade Audio In and Out (Free).
The swell lands early or late. Its length is decay plus pre-delay, so adjust those two numbers rather than nudging by ear. Also trim any silence from the front of the original clip before reversing; it ends up at the back after the first flip and shifts everything.
The vocal sounds washed out. In Method A, the Reverb amount is a crossfade, so high values pull the dry signal down. Back it off, or switch to Method B, which keeps the vocal completely dry.
For settings beyond the swell, How to Add Reverb to Audio (Free, Online) covers every preset and slider. More step-by-step guides are in the How-to guides section.
Frequently asked questions
What is a reverse reverb swell? A reverse reverb swell is a reverb tail played backwards so it rises into a sound instead of fading after it. You make it by reversing a clip, adding reverb, and reversing the result again. The original audio returns to normal because it was reversed twice, while the reverb was reversed only once, so it builds toward each word or hit.
Can I make reverse reverb without a DAW or an audio reverser app? Yes. A free online audio reverser and a browser reverb tool are enough for the basic effect. Vocal Cut's Audio Reverser and Audio Reverb both run in your browser, and your audio never leaves your device. The one thing a browser join can't do is layer the swell under the vocal; for overlapping tracks you need a multitrack editor.
Why set the reverb to 100% wet for a swell? At 100% wet you print only the reverb, with none of the original sound. That gives you a clean swell you can trim and place in front of the dry vocal, so the vocal itself stays clear and unaffected. Mixing wet and dry instead puts a reversed wash before every word, which is a different and busier effect.
How long should the reverb decay be for a reverse swell? The swell lasts about as long as the decay time plus the pre-delay. Medium decays of roughly 1.5 to 3 seconds give the most noticeable rise, while very long tails spend much of their length nearly silent. To land on the beat, divide 60 by the song's BPM to get one beat in seconds and match the decay to whole beats.
Does reversing an MP3 lower its quality? Reversing itself is lossless because it only plays the same samples in the opposite order. Quality loss comes from re-encoding: saving each step as MP3 adds compression artifacts every time. Export the intermediate files as WAV and convert to MP3 only once, at the end, if you need a smaller file.