Podcast Audio Cleanup: Noise Reducer to Export
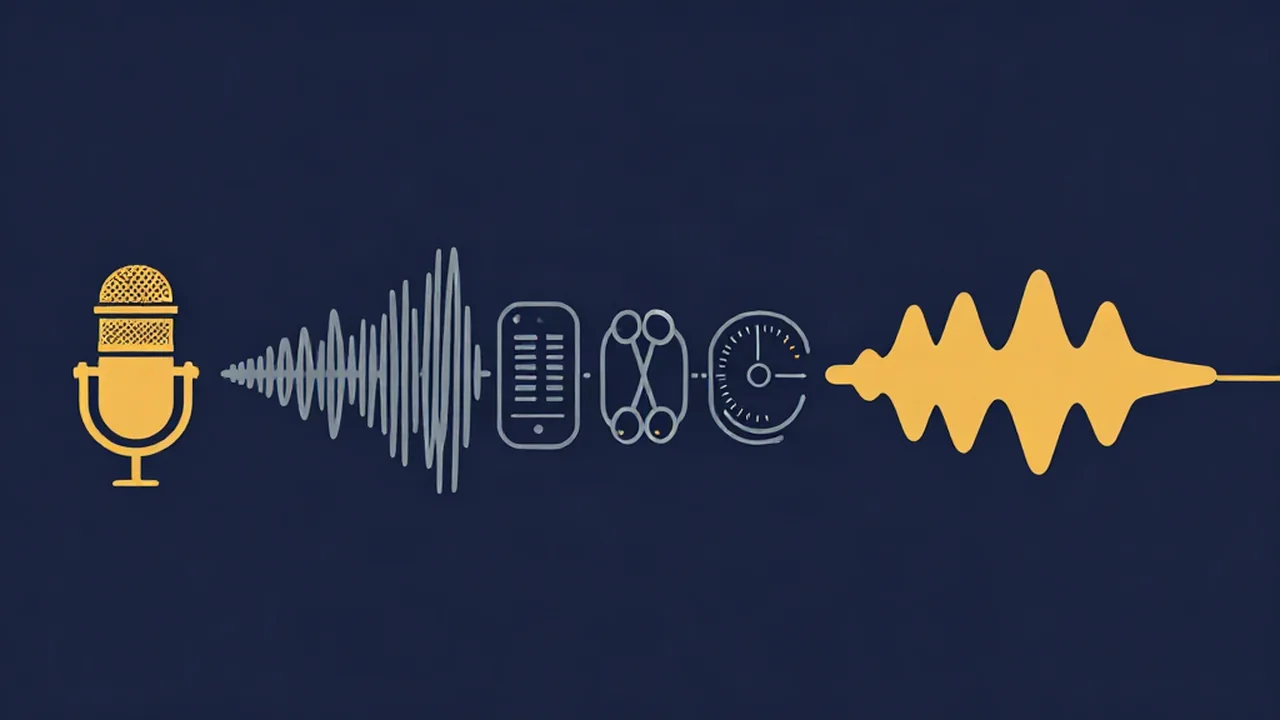
Podcast audio cleanup goes in one order: remove background noise with the Noise Reducer first, then tame harsh S sounds, cut dead air, even out the dynamics, and set loudness last. Each stage changes what the next one has to work with, so the order matters as much as the settings. Every tool below runs in your browser, and your audio never leaves your device.
This guide assumes the episode is already recorded. For the record-to-publish overview, see How to Record and Edit a Podcast Online Free. This post is the cleanup chain in detail: why each stage sits where it does, and what to listen for before you move on.
The podcast audio cleanup order at a glance
- Rough cut with the Audio Cutter: remove obvious junk at the head and tail, and split long episodes.
- Remove background noise with the Noise Reducer in Voice mode, so later stages never amplify it.
- De-ess and fix tone with the Equalizer, before a compressor can react to harsh peaks.
- Trim dead air with the Silence Remover, which detects gaps more reliably on a clean signal.
- Even out dynamics with the Compressor, so loudness can rise without clipping.
- Set loudness with the Volume Normalizer, last, so the number you set is the number you ship.
- Export a delivery MP3 once, at the very end.
Not every episode needs all seven, but when you use a stage, keep it in this position.
Why order matters: what goes wrong if you swap stages
The chain is built around one fact: any stage that adds gain raises the noise along with the voice.
- Compress or normalize before denoising. Both lift the quiet parts, which is where the noise lives, so the noise reducer gets a louder, harder problem.
- Remove silence before denoising. Gap detection uses a level threshold. If room noise sits near it, the tool misses gaps or clips the soft ends of words.
- De-ess after compression. Harsh S sounds are often the loudest moments, so the compressor ducks the words around them. Cut them first and it responds to the voice instead.
- Normalize before your final edits. Loudness is measured over the whole file, so cutting or compressing afterwards can shift the reading and you'd normalize again.
Engineers do disagree here. Some de-ess or EQ after compression, and either can work if you listen. We put static EQ de-essing first so S spikes don't trigger the compressor.
How to remove background noise from podcast audio
Open the Noise Reducer and choose Voice mode. It runs GTCRN, an AI speech-enhancement model, in a background worker inside your browser. The first run downloads the model, about 523 KB, and caches it, so later runs skip that step. Processing isn't instant: the tool shows real progress and an estimated time remaining while it works.
Three things to know about Voice mode:
- It keeps voice and removes everything else. Music beds, sound effects, and reverb tails get treated as noise, so clean the voice tracks first and add intro and outro music afterwards with the Audio Joiner.
- Its output is mono and focused on the speech band. That's fine for spoken word, and one more reason to keep music out.
- The mix slider is your safety valve. It sits between Original and Denoised, starts at 75%, and updates live. If the voice sounds watery or robotic, pull it back towards Original and accept a little more room noise.
If your main problem is a steady electrical hum rather than room noise, use Music mode. Its spectral gating needs no download, keeps stereo, and it's the only mode with the option to remove 50/60 Hz hum, which auto-detects the frequency. For both modes in more depth, see How to Remove Background Noise from Audio.
Clean each speaker separately
If each host or guest was recorded to their own file, clean each one separately instead of a combined mix. Two rooms mean two different noise problems, and one pass can only compromise between them. Running every speaker through the same chain, to the same loudness target, also means the voices arrive at matching levels when you combine them in your editor. Measure the combined mix once more after that.
Long episodes: the 12-minute limit
The Noise Reducer accepts files up to 12 minutes and 100 MB, because the audio and its spectra are held in your device's memory. A 45-minute episode needs splitting first:
- In the Audio Cutter, cut the episode into parts of 12 minutes or less. Make each cut in a pause between sentences, never mid-word.
- Run every part through the Noise Reducer with the same mode and mix setting, so the parts match.
- Put the cleaned parts back in order in the Audio Joiner, with crossfade left at zero so the pauses butt together cleanly.
The other tools allow much longer files, so after rejoining you can treat the episode as one file.
De-ess and fix the tone with the equalizer
Sibilance, the hiss on S, SH, and T sounds, sits roughly between 5 and 10 kHz (Apple's DeEsser 2 documentation gives that range). The site has no dedicated de-esser, so the method is an EQ cut. In the six-band Equalizer, pull the 6 kHz band down 2 to 4 dB and listen to the preview.
The trade-off: an EQ cut is static. It turns that region down all the time, not only when an S spikes, so a heavy cut sounds dull. Go only as far as the esses stop stinging. How to De-Ess Vocals With an Audio Equalizer walks through it step by step.
Two tone moves suit most voices:
- 80 Hz low shelf, down. It removes rumble, desk thumps, and mic-handling noise.
- 2.2 kHz, up 1 to 2 dB if the voice sounds muffled after denoising.
EQ sits after the Noise Reducer because denoising changes a voice's tone, so judge it on the cleaned file.
Cut dead air with the silence remover
The Silence Remover finds gaps quieter than a threshold and longer than a minimum length, then shows every detected region before it cuts anything. Threshold runs from −60 to −20 dB (default −45), and Min gap length from 100 to 2,000 ms (default 500 ms). It keeps 40 ms of padding on each side of every cut so words don't start abruptly.
Set the threshold just below your quietest speech, which is easier now that the noise floor is down. A 500 ms minimum can feel rushed in conversation. In our experience, 700 to 1,000 ms removes the dead air but keeps natural thinking pauses. Check the detected regions before cutting, because a breathy trailing word can fall under the threshold.
Even out the dynamics with a compressor
Start the Compressor on its Vocal preset: threshold −24 dB, ratio 3:1, attack 3 ms, release 250 ms, knee 30 dB, and +4 dB makeup gain. It turns down the loudest moments, like laughs and emphatic words, so the level is steadier.
Compress before normalizing for a practical reason. The Volume Normalizer's clipping protection caps gain rather than limiting peaks, so one loud laugh can stop it short of your loudness target. Compressing first takes those peaks down.
Set loudness last: −16 LUFS for most podcasts
In the Volume Normalizer, choose LUFS mode. LUFS measures perceived loudness across the whole file rather than single peaks; What Is LUFS? Audio Loudness Explained covers it. There's no podcast preset, but the Apple Music preset is −16 LUFS, the common target for spoken word. Turn on Prevent clipping (cap true peak at −1 dBTP). That matches Apple Podcasts' audio requirements: loudness around −16 LKFS, within ±1 dB, with true peak not exceeding −1 dBFS. Other platforms set their own guidance, so treat −16 as a strong default, not a universal rule. How to Master a Podcast (−16 LUFS) covers this stage in depth.
Check the Before and After readings. If After lands well under −16, the peak cap stepped in: compress a little harder and normalize again.
Export: WAV between stages, MP3 at the end
Every tool here exports through the same format selector, with WAV as the default. Keep WAV for every intermediate file. It's lossless, while repeated MP3 encoding stacks artifacts on top of each other.
Encode to MP3 once, from the final WAV, either in the Volume Normalizer's export selector or with the Audio Converter, which uses a native MP3 encoder with no extra download. The selector offers 128, 192, or 320 kbps. Apple lists 96 to 128 kbps for mono and 128 to 256 kbps for stereo, at 44.1 or 48 kHz, so 128 kbps fits a mono voice episode and 192 kbps suits a stereo one.
Listen checks between stages
After each stage, listen on headphones to a minute or two that includes the quietest and loudest parts.
| After this stage | Listen for | If you hear it |
|---|---|---|
| Noise Reducer | Watery, robotic, or swirly voice | Lower the mix slider towards Original |
| Equalizer | Dull or lispy S sounds | Ease the 6 kHz cut back towards 0 dB |
| Silence Remover | Clipped word endings or rushed back-and-forth | Lower the threshold or raise the min gap length |
| Compressor | Pumping, or louder room noise between words | Reduce the ratio or makeup gain |
| Volume Normalizer | After reading well under −16 LUFS | Compress a little more, then normalize again |
| Final MP3 | Swishy or metallic artifacts | Re-export from WAV at a higher bitrate |
The shortcut: the Audio Enhancer
If the episode only needs a light polish, the Audio Enhancer runs a condensed version of this chain in one pass: optional spectral noise reduction, a rumble filter, clarity EQ, compression, and loudness normalization to −16 LUFS in voice mode with a −1 dBTP ceiling. Its noise step is spectral, not the AI speech model, so it suits steady hiss more than a noisy room. The trade-off is control: you can't ease off one stage or listen between them. If the recording needs rescue rather than polish, How to Improve a Bad Recording starts with diagnosing the problem.
Frequently asked questions
What order should I clean up podcast audio in? Remove background noise first, then de-ess and EQ, trim silence, compress, and set loudness last before exporting. Stages that add gain, like compression and normalization, also raise the noise floor, so noise should be gone before them. Loudness goes last because edits made after normalizing can shift the measured loudness, and you'd have to normalize again.
Should I remove background noise before or after normalizing? Before. Normalizing is gain applied to the whole file, so it makes the background noise louder along with the voice. A noise reducer given that louder noise has a harder job and is more likely to leave artifacts. Clean the noise at the original level, then normalize as the final stage so the loudness you set is the loudness you publish.
Why won't the Noise Reducer accept my full episode? Vocal Cut's Noise Reducer accepts files up to 12 minutes and 100 MB, because the audio and its spectra are held in your device's memory and longer files can crash the browser tab. Split the episode into parts of 12 minutes or less with the Audio Cutter, cutting in pauses, clean each part with the same settings, then rejoin them with the Audio Joiner.
What loudness should a podcast be? Around −16 LUFS integrated, with true peak no higher than −1 dBTP, is the common target for spoken word. Apple Podcasts publishes −16 LKFS within ±1 dB and a −1 dBFS true-peak ceiling. Other platforms set their own guidance, so −16 is a widely used default rather than a rule every service enforces. Measure the final file instead of assuming a preset landed it.
Can I run my intro music through the Noise Reducer? Not in Voice mode. The AI speech model keeps voices and removes everything else, so instruments, pads, and reverb tails get stripped or damaged, and the output is mono. Clean only the voice tracks, then add intro and outro music afterwards. If a music bed itself has steady hiss or hum, Music mode uses spectral gating instead and keeps the file in stereo.