How to Master for Apple Music
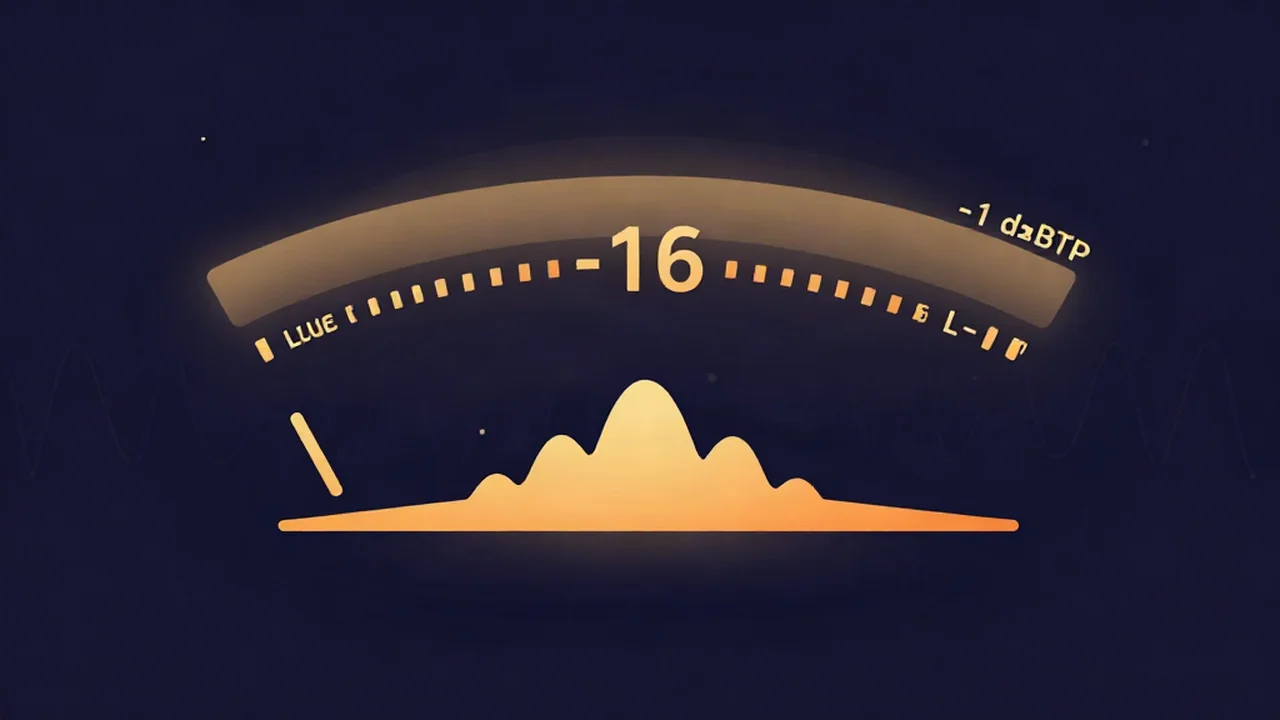
The short version of how to master for Apple Music: keep your true peak at -1 dBTP, make the track sound the way you want it to sound, and let Apple Music's loudness normalization handle the playback level — you can check both numbers in a free volume normalizer in a couple of minutes. Apple references playback to roughly -16 LUFS integrated (quieter than Spotify or YouTube), and its delivery spec asks for a -1 dBTP ceiling. The important part: you don't build a separate file for Apple. One well-made master translates across every major streaming service.
The Apple Music loudness reference
Apple Music applies Sound Check-style loudness normalization, referenced to about -16 LUFS integrated. That's the measured average loudness Apple aims every track toward on playback. If your master is louder than -16 LUFS, Apple turns it down to match; loudness above the reference is simply discarded on playback.
This is where Apple differs from its neighbors. Spotify and YouTube reference to around -14 LUFS, so Apple sits 2 dB quieter. In practice that means Apple turns most masters down a little further than Spotify does — but the mechanism is identical, and it's the same mechanism behind how to master for Spotify. If you're fuzzy on the unit itself, our explainer on what LUFS means for audio loudness covers integrated loudness in plain language, and how streaming loudness normalization works walks through why every platform now levels playback this way.
The takeaway: because the platform sets playback level, chasing raw loudness buys you nothing on Apple Music. A master crushed to -8 LUFS and a master sitting at -14 LUFS end up at the same perceived level once Apple normalizes them — but the crushed one gave up its dynamic range to get there.
The true-peak ceiling: -1 dBTP
Apple's delivery spec — Apple Digital Masters, formerly Mastered for iTunes — recommends a true-peak ceiling of -1 dBTP. True peak measures the loudest point of the reconstructed analog waveform, not just the sample values, so it catches inter-sample peaks that a plain sample-peak meter misses. Our guide on what true peak (dBTP) is goes deeper if the term is new.
Why the 1 dB of headroom matters: Apple Music streams AAC, and lossy AAC encoding can nudge peaks higher than they were in your source file. A master that hits exactly 0 dBFS can clip after transcoding to AAC. Leaving your true peak at -1 dBTP gives the encoder room to work without introducing distortion. It's cheap insurance, and it costs you nothing audible.
What you'll need
- A file you already have — a stereo WAV or FLAC is ideal, since lossless input keeps the measurement honest. MP3 works too.
- A modern browser (Chrome, Edge, Firefox, or Safari).
- No account, no install, no upload. The tool runs entirely on your device — your audio never leaves your device.
- About two minutes.
Steps
Open the volume normalizer and drop in your file. The Before panel measures and displays your track's integrated loudness in LUFS and its true peak in dBTP. This is your starting point — note both numbers.
Decide how you want to hand off the file. Most engineers master toward roughly -14 LUFS with -1 dBTP once — that -14 is a delivery target, not Apple's -16 playback reference — then let each platform normalize down. Apple, seeing a file louder than -16, simply turns it down to its reference on playback. That single file translates everywhere. If instead you specifically want to deliver a file that already sits at Apple's reference (some distributors or archives ask for this), select the Apple Music -16 preset in Loudness (LUFS) mode. Both are legitimate; the per-service breakdown in what LUFS you should master to lays out the targets side by side.
Leave "Prevent clipping (cap true peak at -1 dBTP)" checked. That checkbox holds your true peak at exactly Apple's ceiling — the same -1 dBTP the delivery spec asks for. Keep it on.
Click "Preview after-LUFS". The After panel shows the resulting LUFS and true peak, plus the exact gain offset applied — for example, "Gain to apply: -2.3 dB". Confirm the after true peak reads -1 dBTP or lower.
Export. Press Export WAV (or pick MP3, FLAC, M4A, or Opus from the format selector). WAV keeps the result lossless for a distributor; M4A matches Apple's own AAC family if you want to preview how it'll sound.
One honest limit: this tool applies a single gain offset and holds the true-peak ceiling. It is not a multiband limiter or a full mastering processor. Tonal balance, compression, and dynamic control happen earlier in your chain — this step sets loudness and protects your peaks.
Do you need a separate Apple Music master?
No. Because Apple Music normalizes playback to a reference — exactly like Spotify, YouTube, Tidal, and Amazon Music — a single master translates across all of them. You are not building one file per service.
Master the track to sound good, keep the true peak at -1 dBTP, and every platform's normalization sets the playback level for you. Apple turns it down to -16 LUFS; Spotify turns it down to -14 LUFS; the listener hears a consistent level either way. The only number you actively protect is the true-peak ceiling, and the volume normalizer holds that for you. If you want the mechanics of loudness matching on their own, how to normalize audio loudness covers it.
Troubleshooting
My track got quieter after normalizing — did I do something wrong? No — that's the correct outcome. If your source was louder than the target, the tool turns it down, and the gain offset (a negative number) tells you by how much. Apple would apply the same reduction on playback anyway. A quieter, more dynamic file is exactly what you want.
My true peak reads above -1 dBTP after exporting to M4A/AAC. Lossy AAC encoding can push peaks higher than the source. Make sure "Prevent clipping (cap true peak at -1 dBTP)" was checked before export, and consider aiming for -1.5 dBTP if a particularly dense mix still creeps over after transcoding. The -1 dBTP source ceiling is the safeguard the Apple spec is built around.
It sounds less punchy than a loud reference track. That usually means the reference was over-compressed for loudness — which Apple's normalization then discards on playback anyway. Don't crush your master to match it; on Apple Music the crushed track ends up at the same level as yours, just with less dynamic range. Keep your dynamics and trust the reference.
Related
For more, see the full library of how-to guides, the companion walkthrough on how to master for Spotify, and the reference on what LUFS you should master to.
Frequently asked questions
What LUFS should I master to for Apple Music? Apple Music references playback to about -16 LUFS integrated, but you don't have to deliver a -16 file. Master toward roughly -14 LUFS with a -1 dBTP true peak — a common all-platform target — and Apple will normalize it down to its reference automatically. One master then translates across every major streaming service.
Does Apple Music change my master? Apple applies loudness normalization on playback, turning tracks toward its -16 LUFS reference so listeners hear a consistent level. It doesn't re-edit or re-master your file; it adjusts playback gain. Loudness you pushed above that reference is simply turned back down, which is why over-compressing for loudness gains nothing on Apple Music.
Do I need a different master for Apple Music than Spotify? No. Both platforms normalize playback to a reference — Apple near -16 LUFS, Spotify near -14 LUFS — so a single master translates to both. Keep your true peak at -1 dBTP, master the track to sound good, and let each service set the playback level. Building a separate file per platform is unnecessary work.
What true peak should I use for Apple Music? Aim for -1 dBTP. Apple's delivery spec (Apple Digital Masters) recommends that ceiling because AAC encoding can introduce inter-sample peaks that push a 0 dBFS master into clipping after transcoding. Leaving 1 dB of headroom protects the audio through Apple's AAC pipeline. The volume normalizer's "Prevent clipping" checkbox holds this ceiling for you.