How to Clean Up a Zoom Recording
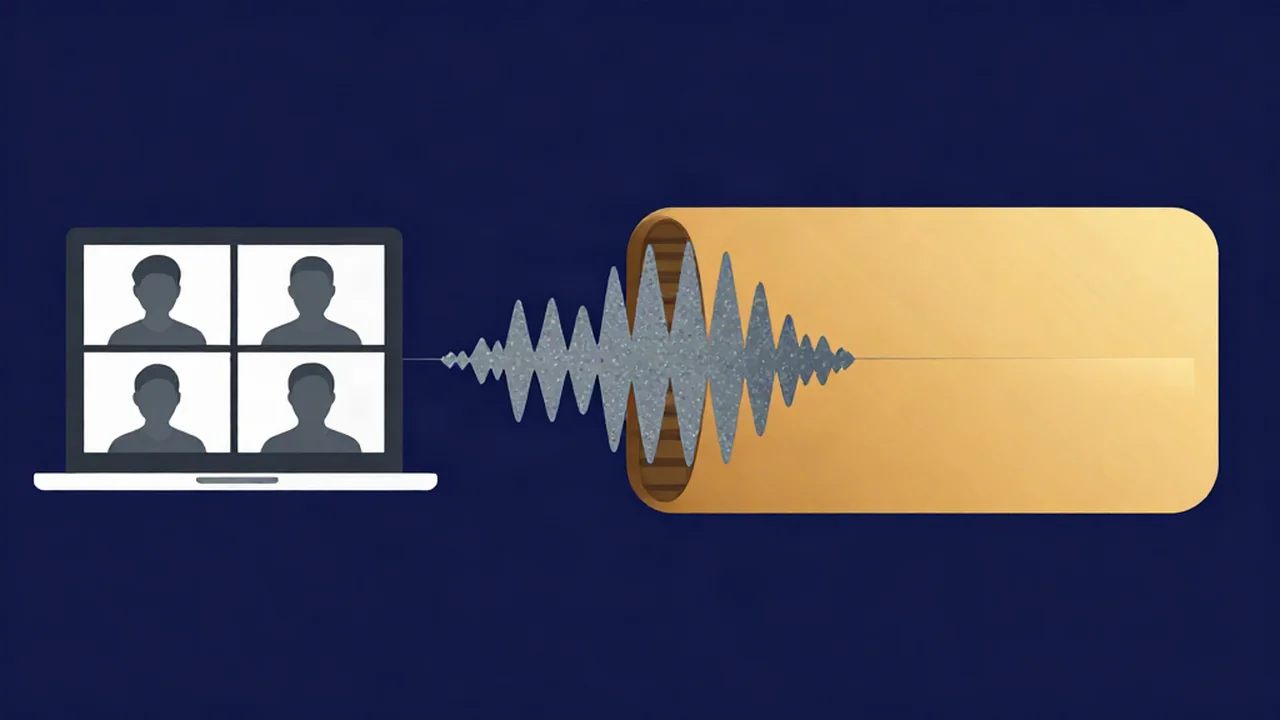
To clean up a Zoom recording, remove background noise with Vocal Cut's free Noise Reducer in Voice mode, then trim, even out the levels, and normalize the result before you export. A meeting recording has problems a podcast doesn't: codec artifacts, Zoom's own noise suppression already working on the audio, and speakers at wildly different volumes. The order you fix them in matters as much as the tools.
Everything below runs in your browser, so your audio never leaves your device. For the general walkthrough of the Noise Reducer on any kind of file, see How to Remove Background Noise from Audio. This guide covers what is specific to recorded calls and meetings.
What you'll need
- Your Zoom recording. A local recording usually gives you an MP4 (video) and an M4A audio-only file, often named
audio_only.m4a. A cloud recording can be downloaded from the Recordings page on zoom.us, which also offers an audio-only M4A. If you have the M4A, start with that. - Per-speaker files, if you have them. Zoom has an optional setting to record a separate audio file for each participant. It works reliably for local recording; for cloud recording it depends on your plan and settings, so check your Zoom recording settings.
- Headphones. Codec warble and leftover hiss are much easier to hear on headphones than on laptop speakers.
- Some patience. An hour-long meeting means several passes through the tools, and AI noise reduction on each piece takes a while on your own computer. The tool shows progress and an estimate of the time left as it goes.
What's wrong with Zoom audio (and what can be fixed)
Listen to a minute of the recording before you touch anything. Only some of what you hear is fixable after the fact.
Video-call audio is compressed hard by a VoIP codec (the audio compression video-call apps use to send voice over the internet) before it ever reaches the recording. That's what gives calls their thin, tinny "phone" quality: much of the upper range is thrown away to save bandwidth. On top of that, Zoom applies its own noise suppression during the call, which can leave voices sounding warbly or gated, with words clipped off at the start or end. Then add each participant's room, their keyboard, and their microphone, all at different levels.
| Problem | Can cleanup fix it? |
|---|---|
| Steady room noise, fans, hiss | Yes, very well |
| Keyboard clicks under speech | Partly; Voice mode helps, loud clicks may remain |
| One speaker much louder than another | Mostly, with a compressor or per-speaker files |
| Long pauses and dead air | Yes, trim or remove them |
| Room echo | A little; mostly a recording problem |
| Tinny, thin "call" sound | No; bandwidth lost to the codec can't be restored |
| Dropouts and robotic glitches | No; the audio was never received |
| Two people talking over each other | No; crosstalk can't be fully pulled apart |
The honest goal is a recording that's comfortable to listen to, not one that sounds like a studio. Steady noise, uneven loudness, and dead air are where you'll hear the biggest improvement; if one participant had a fan or air conditioner running, How to Remove Fan and AC Noise goes deeper on that kind of hum. If echo is the main complaint, How to Remove Echo and Reverb from Audio explains what can still be softened.
How to clean up a Zoom recording and remove background noise, step by step
The order is deliberate. Each step works better on the output of the one before it, and loudness normalization always comes last so nothing after it can push the levels around again.
- Get the audio out of the video (only if you have just the MP4). Open Video to Audio and drop in the recording. It accepts MP4, MOV, WebM, and MKV files up to 300 MB, and the extraction happens on your device. How to Extract Audio from a Video has the full walkthrough. If Zoom already gave you an M4A, skip this step.
- Trim and split into 12-minute pieces. The Noise Reducer accepts files up to 100 MB and 12 minutes long. A longer file shows an error telling you to split it with the Audio Cutter first, and most meetings run well past 12 minutes. Open the Audio Cutter, cut off the waiting-room chatter at the start and the goodbyes at the end, then export the meeting in consecutive sections of 12 minutes or less. Set each section's Trim Start point to the previous section's Trim End point so nothing is lost or doubled at the joins.
- Run each piece through the Noise Reducer in Voice mode. Drop in the first piece, choose Voice, and press Reduce noise (Voice mode). Voice mode uses a small AI speech model (about 0.5 MB) that downloads once from Vocal Cut's CDN and is then cached. It's built for speech like meetings, interviews, and podcasts, and suppresses anything that isn't a voice. How AI Noise Reduction Works explains why that approach suits speech. A progress bar shows the stage and an estimate of the time left.
- Preview and set the mix. Press play and listen. The slider running from Original to Denoised starts at 75%. Zoom audio has often been noise-suppressed once already during the call, so a second pass can tip it into a watery sound sooner than a raw recording would. If that happens, lower the slider. The mix applies live and to the export, so there's no need to reprocess. Then export, and repeat steps 3 and 4 for every piece using the same mix setting so the sections match.
- Rejoin the pieces. Load the cleaned sections into the Audio Joiner in order, leave the crossfade at zero so the sections butt up exactly, and export one file.
- Shape the tone (optional). If a low rumble remains, pull down the 80 Hz low shelf on the 6-band Equalizer. A small lift around the 2.2 kHz band can help speech cut through. Keep EQ moves small on call audio, because boosting frequencies the codec already removed only raises noise. How to EQ a Podcast Voice for Clear Speech explains where to cut and boost.
- Even out the speakers (optional). If one person is much louder than another, run the file through the Compressor next. The section below covers this in more detail.
- Normalize last. Open the Volume Normalizer, choose Loudness (LUFS), and pick one of the tool's presets: Spotify and YouTube sit at -14 LUFS, Apple Music at -16. For a meeting people will listen to on headphones, either is fine; -16 leaves a little more headroom. Leave prevent clipping on. The tool shows before and after loudness and true peak, so you can confirm the result; How to Normalize Audio Loudness (LUFS) explains the targets. Export as WAV, MP3, or Opus (Opus isn't offered on Safari).
If the meeting has long silences, a pass with the Silence Remover between steps 5 and 6 tightens it up. How to Remove Silence from Audio covers the settings.
Uneven levels between speakers
The most common complaint about meeting recordings is that one person booms and another is barely audible. Normalization doesn't fix this on its own. It sets the overall loudness of the whole file, so the loud speaker stays loud and the quiet one stays quiet, both just shifted by the same amount.
There are two ways to handle it.
Use per-participant files if Zoom made them. With separate audio files for each speaker, clean each one on its own: split, noise-reduce, and rejoin each speaker's track, then normalize each to the same target. Each person gets the noise treatment their own room needs, and their levels match before you mix. To stack the voices back into one conversation you'll need a multitrack editor such as Audacity, because the Audio Joiner plays files one after another rather than on top of each other. Line every track up at the same starting point so the voices stay in sync. Stacked voices add up, so normalize the final mix once more.
Use a compressor on a single mixed file. Compression turns down the loudest moments and lets you bring the whole file up afterward, which narrows the gap between a loud and a quiet speaker. It won't make them identical, but it can make the quiet person easy to follow without the loud one hurting your ears. How to Use a Compressor on Audio covers threshold and ratio. Compress before you normalize, never after.
Troubleshooting
Voices sound watery, robotic, or underwater. This is over-reduction, and it's more likely on Zoom audio because the call already had noise suppression applied once. Lower the wet/dry mix slider toward Original until the voices sound natural again.
The tool says the file is too long. The Noise Reducer caps files at 12 minutes because the audio and its analysis are held in memory. Split the recording with the Audio Cutter, clean each piece, and rejoin them with the Audio Joiner, as in the workflow above.
The cleaned file is mono. That's expected. Voice mode outputs mono, focused on the speech band. Meeting audio carries no useful stereo information, and a mono file plays in both speakers.
It still sounds tinny. The codec removed those high frequencies during the call, and no cleanup tool can restore them. A gentle EQ lift can make speech a little clearer, but large boosts mostly bring up hiss.
Next time: get cleaner audio at the source
Most of the damage happens during the call, so a few changes before the next one save a lot of work. Ask participants to use headphones and a headset or external mic, and to mute when they aren't speaking. Turn on the per-participant audio files option in your Zoom recording settings if your account offers it. Zoom also has adjustable noise suppression and an "Original sound" option in its audio settings; if you plan to clean the recording yourself, turning suppression down can leave you more natural audio to work with. For the broader picture of turning any raw recording into a finished file, see From Raw Recording to Finished Edit, or browse more step-by-step audio how-to guides.
Frequently asked questions
Can I remove background noise from a Zoom recording for free? Yes. Vocal Cut's Noise Reducer is free with no account. Load the M4A audio file from your Zoom recording, choose Voice mode, and press Reduce noise (Voice mode). It processes the file in your browser, so your audio never leaves your device. Files are limited to 12 minutes, so split a longer meeting with the Audio Cutter first and rejoin the cleaned pieces with the Audio Joiner.
Why does my Zoom recording sound tinny? Zoom compresses call audio with a VoIP codec that removes much of the high-frequency detail to save bandwidth. That gives recorded calls their thin, phone-like sound. The lost frequencies can't be restored by any cleanup tool. Noise reduction, a gentle EQ lift, and loudness normalization can make a call recording clearer and more comfortable to listen to, but not studio quality.
How do I fix one speaker being louder than the others? If Zoom recorded a separate audio file per participant, clean and normalize each file to the same loudness target, then layer them in a multitrack editor. With a single mixed file, use a compressor to reduce the gap between loud and quiet voices, then normalize the result. Normalization alone raises or lowers the whole file by the same amount, so it doesn't balance speakers.
How do I remove background noise from a Zoom video, not just the audio? Extract the audio from the MP4 with a video-to-audio tool, or use the audio-only M4A Zoom provides. Clean that file in the Noise Reducer, then replace the original soundtrack with the cleaned version in your video editor. Line the cleaned audio up at the same start point as the original and check a few spots for lip sync before you export.
Can cleanup fix dropouts or robotic glitches in a Zoom call? No. Dropouts and robotic, garbled stretches happen when audio packets are lost or degraded during the call, so that sound was never recorded properly. Noise reduction can only work with what's in the file. The best you can do is cut badly damaged passages with an audio cutter or accept them. Preventing them means a more stable internet connection next time.