Master Too Quiet? Fixes Beyond a Volume Booster
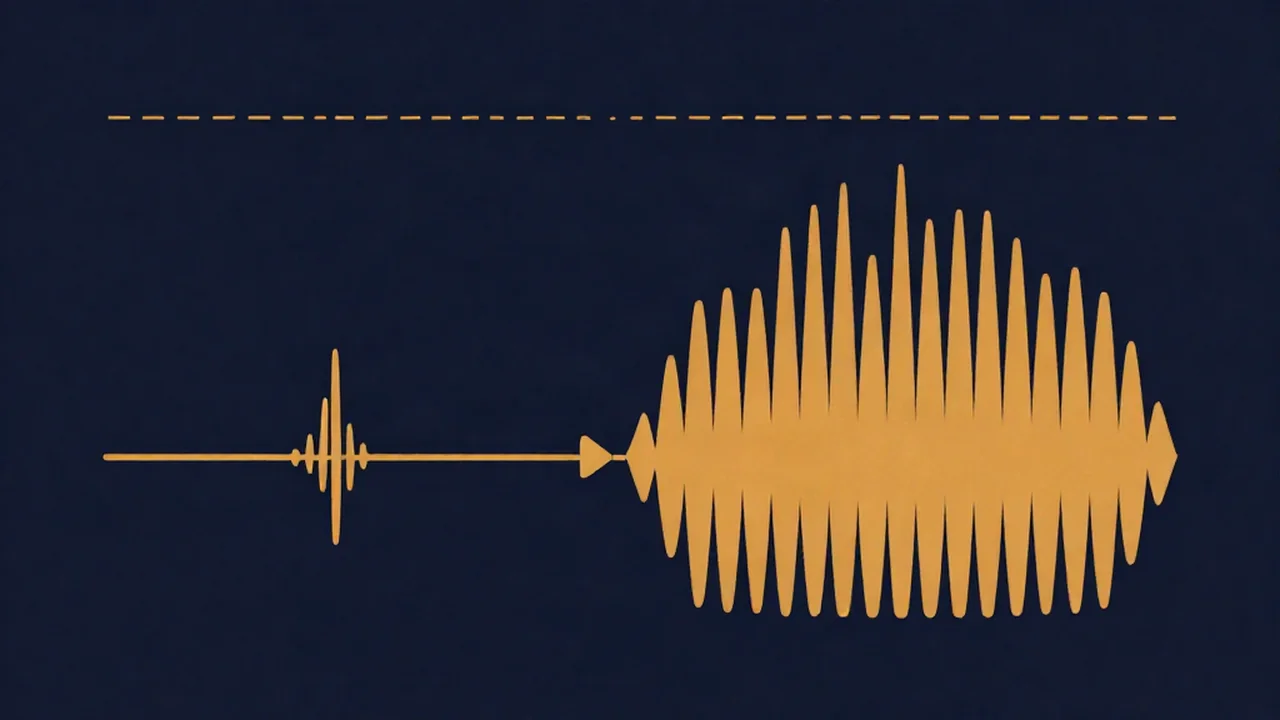
A Volume Booster is the quickest way to see why your master is too quiet: drop the file in, read its true peak, and click Maximize. If the track barely gets louder, the problem isn't gain. Your peaks are already near the ceiling, and the gap between you and a commercial release comes from limiting, dynamics, and how you're measuring loudness. This guide covers the usual causes and the fix for each, using the free Volume Booster and Audio Mastering tools. Both run in your browser, and your audio never leaves your device.
The short answer: why is my master so quiet?
Perceived loudness follows the average level of a track, not its highest peak. Commercial masters sit close to the ceiling almost all the time because a limiter shaves off the brief spikes and the whole track gets turned up into the space that frees. A mix without that step can peak at −1 dBTP (decibels true peak, the real peak level including the spikes between samples) and still feel much quieter, because its average sits many dB lower.
Most quiet masters come down to one or more of these:
- No limiter, or one that is barely working.
- Measuring peak level when the thing that matters is integrated LUFS.
- Leaving mix-style headroom on the finished master.
- Being so worried about clipping that the level never goes up.
- Too much low end or uncontrolled transients using up the headroom.
Step 1: Measure the right number
Start by finding out what you actually have. Drop your master into the Volume Booster and look at "Peak before."
- A reading well below 0, say −6 dBTP or lower, means you left unused headroom. Clicking "Maximize (loudest without clipping)" lifts the true peak to −1 dBTP and gives you a real, clean gain increase.
- A reading already around −1 dBTP means Maximize has almost nothing to add. Your peaks are at the ceiling. The track sounds quiet because the average is low, and more gain won't change that.
Peak level tells you how close you are to clipping. Integrated LUFS is loudness averaged over the whole track, and that is the number to compare with commercial releases. Open the file in Audio Mastering and the "Original" readout shows both: integrated loudness in LUFS and the peak underneath it. Two tracks with the same peak can be 6 dB or more apart in LUFS. For more on what these numbers mean, see What Is Audio Headroom?.
Step 2: Stop leaving mix headroom (a volume booster fixes this)
Headroom belongs to the mix stage. You leave space so the mastering chain has room to work. Once the master is finished, that space is just wasted level. If you bounced at −6 dBFS peak "to be safe" and then called it done, the track will sound quiet next to anything released commercially.
Fix: if the peaks sit far below the ceiling and the dynamics already sound right, the Volume Booster's Maximize button is enough. Keep "Prevent clipping (cap at −1 dBTP)" switched on (it is on by default) and export. That closes the headroom gap without touching the character of the mix.
Step 3: Add limiting (this is the real fix)
When the peaks are already at the ceiling, you need a limiter. The limiter catches the short transients, like snare hits and consonants, so the rest of the track can rise without clipping. For how that works, read What Is a Limiter in Audio?, and if the two tools blur together, Compressor vs Limiter: What's the Difference.
In Audio Mastering:
- Drop in your mixdown. The tool measures its integrated loudness and peak.
- Pick a Loudness target: Spotify (−14), YouTube (−14), Apple Music (−16), or Club / Loud (−9). The tool works out the gain needed to reach that LUFS figure and drives the signal into its output limiter, which holds peaks just under −1 dB.
- Set Compression from its gentle to aggressive steps if the track still feels thin or jumpy. Moderate compression evens out the dynamics so the limiter doesn't have to work as hard.
- Use the level-matched A/B. Both the original and mastered paths play at the same loudness, so you judge tone and punch instead of just picking the louder one.
- Export. The tool re-measures the render and corrects the gain if the limiter missed the target by more than half a dB.
Want to know the loudness of a specific commercial track? How to Master With a Reference Track walks through matching one. For the full chain from start to finish, see How to Master a Song Online for Free.
Step 4: Get over the fear of clipping, carefully
A lot of quiet masters come from people who got burned by distortion once and now never push the level. A limiter set to a ceiling is the safe way to get loud. It trims peaks by design, and it is a very different thing from letting the waveform hit 0 dBFS and flatten.
What you should still avoid is real clipping: peaks going past full scale, or inter-sample peaks going over after an MP3 or AAC encode. That's why both tools here cap around −1 dBTP instead of 0. If your master already sounds crunchy before any of this, the damage is in the mix and more level will only make it louder. What Is Audio Clipping (and How to Avoid It)? shows how to tell.
Step 5: Check the low end and the transients
Bass carries a lot of energy but doesn't add much perceived loudness. A heavy sub or a booming kick fills the headroom, so the limiter clamps down on it and pulls the whole track back with it. You get a pumping sound, and the master still comes out quieter than you wanted.
In Audio Mastering:
- Raise the Rumble filter (20–100 Hz high-pass) to remove sub energy nobody can hear on most speakers.
- Pull the Low 100Hz EQ band down a dB or two if the low end is bloated. The Equalizer bands run from −6 to +6 dB.
- Try a touch more 4kHz or 1kHz. Our ears are more sensitive in the midrange, so a small lift there reads as "louder" without adding peak level.
Very spiky transients, like an uncompressed snare that jumps far above everything else, have a similar effect. Some control at the mix stage leaves the limiter less to catch.
Step 6: Know where loudness stops paying off
Streaming services use loudness normalization. Spotify publishes a default reference of −14 LUFS. YouTube and Apple Music don't publish a number, but they're widely measured at around −14 and −16. A master pushed to −8 LUFS gets turned down on playback to sit next to everything else, and it arrives flatter and more squashed than a master finished at a sensible level. How Streaming Loudness Normalization Works has the details, and The Loudness War Explained covers how the industry got here.
So how loud should your master be? Match your destination instead of chasing a maximum. For streaming, aim close to the platform's target, which What LUFS Should I Master To? lists by service. For DJ sets and club play, where nothing gets normalized, a louder target like the Club / Loud preset makes sense. If you already have a finished master and only need it to sit at a set LUFS level, use the Volume Normalizer. It changes gain only and doesn't add compression.
Which tool for which problem
| Symptom | Likely cause | Fix |
|---|---|---|
| Peak well below −1 dBTP | Unused headroom | Volume Booster → Maximize |
| Peak at −1 dBTP, still quiet | No limiting, wide dynamics | Audio Mastering with a Loudness target |
| Pumping when pushed | Too much low end | Rumble filter + Low 100Hz cut |
| Loud on export, quiet on Spotify | Normalization turned it down | Master near −14 LUFS |
| Need a fixed LUFS on a finished file | Level only, not tone | Volume Normalizer |
Browse the how-to guides for more mastering walkthroughs.
Frequently asked questions
Why is my master so quiet compared to commercial songs?
Usually because it hasn't been limited. Commercial masters use a limiter to catch short peaks, which lets the average level rise much higher while the peaks stay under the ceiling. Your master can peak at the same level and still sound several dB quieter because its average, measured in integrated LUFS, is lower.
Will a volume booster make my master as loud as a commercial track?
Only if your peaks are sitting well below the ceiling. A volume booster adds clean gain up to a true-peak limit such as −1 dBTP. Once your peaks reach it, more gain would clip. Closing the rest of the gap takes limiting and compression, which is a mastering job rather than a plain boost.
How loud should my master be?
Match where it will be played. For Spotify, −14 LUFS integrated matches its published default reference level. YouTube and Apple Music don't publish figures, but they're commonly measured at around −14 and −16, so those are sensible targets. For club and DJ use, where there's no normalization, louder masters around −9 LUFS are common. Keep true peaks at or below about −1 dBTP either way.
Should I measure peak level or LUFS?
Both, for different reasons. Peak level tells you whether you're about to clip. Integrated LUFS tells you how loud the track actually sounds over its full length, and that is the number to compare against commercial releases and streaming targets. A master can have a healthy peak and still be quiet in LUFS.
Why does my loud master sound quieter on Spotify?
Spotify normalizes tracks to a reference loudness of about −14 LUFS by default, so a master pushed louder gets turned down on playback. After that, the heavily limited version often sounds flatter than a more dynamic master at the same playback level. Mastering near the platform target avoids losing punch for no gain.