What Is the Mastering Chain (Signal Order)
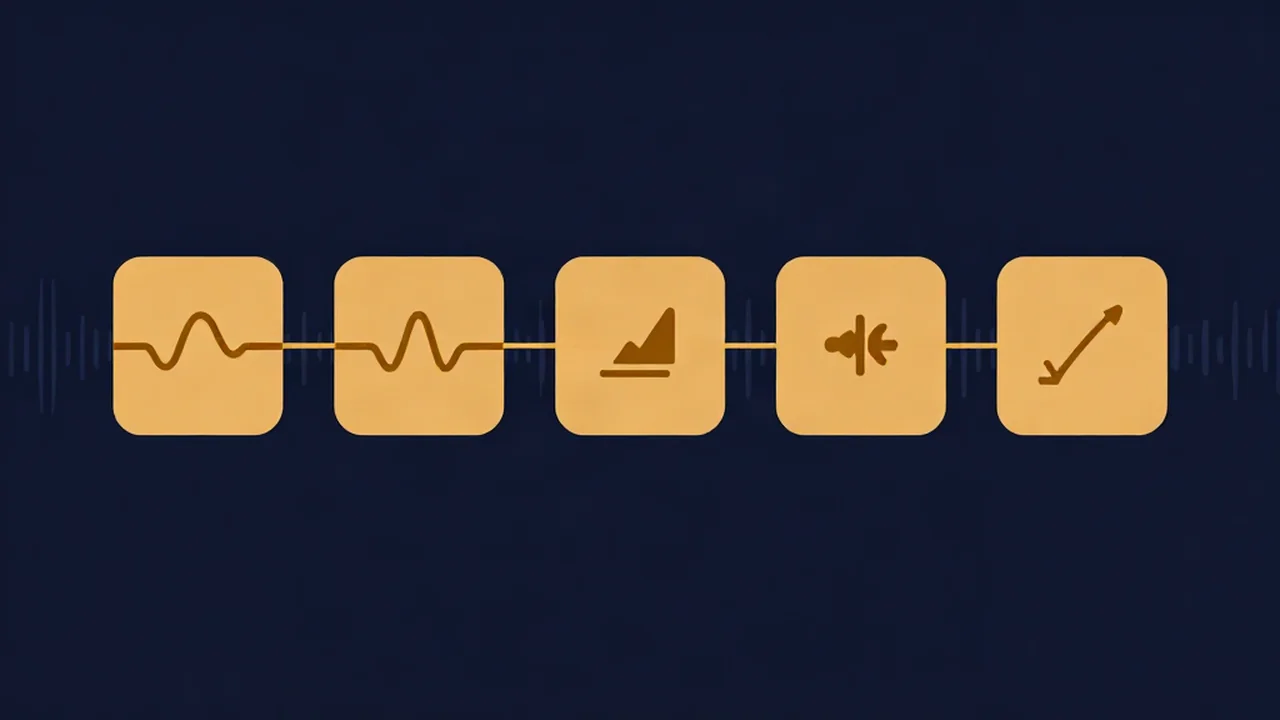
The mastering chain is the fixed, ordered series of processors a finished stereo mix passes through on its way to a release-ready file — high-pass, EQ, compression, stereo width, then a limiter — and the Audio Master tool runs exactly that sequence. The order is deliberate, not arbitrary: swap two stages and you change, or break, the result.
This article is about the order of the chain and why it's fixed, not about what mastering is in general — for that, read what audio mastering is first. Here the takeaway is narrower and more useful once you're actually processing a mix: each processor hands its output to the next, so where a tool sits in the line determines what it "sees" and therefore what it does. Get the sequence right and every stage supports the ones after it. Get it wrong and stages fight each other.
Why signal order matters
Audio processing is serial. The signal enters the first processor, comes out changed, and that changed signal is the only thing the second processor ever sees — it has no knowledge of the original. A compressor placed after an EQ reacts to the EQ'd tone, not the raw mix. A limiter placed after everything catches whatever the whole chain produced.
That single fact is the reason the chain has a canonical order. Each stage is designed to react to a signal that the previous stages have already prepared. Cleanup comes before tone-shaping because you don't want later tools reacting to garbage. Tone-shaping comes before dynamics because you want the compressor to respond to the balance you actually intend. Dynamics come before the final ceiling because the ceiling should be the last thing that ever touches the audio. Reorder those relationships and you're asking a processor to make decisions about a signal it was never meant to see.
The canonical order, stage by stage
Here is the standard mastering signal flow, and — more importantly — why each stage sits where it does relative to its neighbours.
1. High-pass / sub-bass cleanup — first
A high-pass filter removes inaudible rumble and DC-region energy below the range you can actually hear (typically under ~20–30 Hz). It goes first for a concrete reason: that sub-bass energy is silent but not weightless. It still consumes level, and if you leave it in, it will trigger the compressor and the limiter later in the chain — you'd be spending precious headroom and dynamic control on frequencies nobody will ever hear. Clean it out before anything downstream can react to it, and every later stage works only on the audible signal.
2. Broad EQ — next
With the rumble gone, broad EQ shapes the overall tone: a little more warmth in the lows, a touch more air up top, a dip where the mix is honky. EQ comes before the compressor on purpose. A compressor reacts to level, and level is frequency-dependent — a boomy low-mid resonance can be the loudest thing in the mix. If you compress first and EQ second, the compressor keeps ducking the whole track every time that resonance peaks, riding a problem you're about to remove anyway. EQ first means the compressor reacts to the balanced tone you actually want, not to a bump you're seconds away from cutting.
3. Compression / multiband compression
Now the compression stage controls dynamic range — the gap between the quietest and loudest moments — gluing the mix together and evening out level. It sits after EQ so it responds to the corrected balance, and it's usually multiband (splitting the signal into low, mid, and high bands and compressing each separately) so that clamping down on a loud bassline doesn't also dull the vocals sharing the same detector. Multiband placement here also lets you tame dynamics without flattening transients across the whole spectrum — you can hold the low end steady while the snare still snaps.
4. Stereo / mid-side width
With tone and dynamics under control, the mid-side stage adjusts how wide the stereo image feels, opening up the sides without hollowing out the center where the kick, bass, and lead vocal live (see mono vs stereo for why the center matters). Width sits here for a specific reason: it comes after dynamics, because widening a signal can nudge its peak levels, and it comes before the limiter, so that whatever new peaks the width change introduces are still caught by the final ceiling. Widen after the limiter and you'd re-introduce peaks with nothing left to catch them.
5. Limiter / output ceiling — last
The limiter is the final stage, and it is last for the most important reason of all: it is the safety net. It raises the track to your loudness target and holds true peaks below a ceiling of around −1 dB, which keeps the audio from clipping into harsh distortion while leaving a small margin so lossy encoders don't push it over later. Nothing comes after the limiter, because anything that did — a stray EQ boost, a width tweak, a gain trim — could lift a peak back above the ceiling the limiter just worked to hold. The limiter also sets your final loudness, so it's the stage that answers what LUFS you should master to.
What happens if you reorder the chain
The "why order" point gets vivid the moment you break it.
Limiter before EQ. If you limit first, you've already crushed and clipped the peaks — then you EQ a signal that's already squashed. Boosting the highs now just amplifies limiting artifacts and distortion that are baked in; you're polishing damage instead of preventing it.
Compression before high-pass. Leave the sub-rumble in and compress before you filter it, and the compressor pumps on energy you can't even hear — the whole track ducks in time with inaudible low-frequency thumps, and your audible material gets quieter for no reason.
Width after the limiter. Widen the stereo image after the ceiling is set and you nudge peaks back above −1 dB with no limiter left to stop them — so the "finished" master clips on playback, exactly the failure the chain was ordered to prevent.
None of these are subtle preferences. They're the difference between a chain where each stage sets up the next and a chain where stages undo each other's work.
The chain in the Audio Master tool
The Audio Master tool runs this exact order as real digital signal processing, not a black box: high-pass filter → five-band EQ → multiband compression → mid/side stereo width → a limiter with BS.1770 LUFS metering. It's free audio mastering that runs entirely in your browser on a file you already have — there's no upload and no account, and because every stage processes locally, your audio never leaves your device. If you want to walk through each control hands-on, the step-by-step guide to mastering a song online for free covers the whole flow, and our audio explainers break down every stage's underlying concept in more depth.
Frequently asked questions
Does the order of the mastering chain actually matter? Yes — significantly. Audio processing is serial, so each stage only ever sees what the previous stage produced. A compressor placed before an EQ reacts to a tone you're about to change; a limiter placed anywhere but last can have its ceiling undone by a later boost. The canonical order exists because every stage is designed to react to a signal the earlier stages have already prepared.
Should EQ come before or after compression when mastering? Broad EQ almost always comes before compression. A compressor reacts to level, and a tonal imbalance — like a boomy low-mid resonance — reads as extra level, so it makes the compressor duck the whole track. Shaping the tone first means the compressor responds to the balance you actually want, not to a bump you're about to cut. EQ first, dynamics second is the standard mastering order.
Why is the limiter always last in the chain? Because it's the final safety net. The limiter sets your loudness target and holds true peaks below a ceiling of around −1 dB to prevent clipping. Anything placed after it — an EQ boost, a width change, a gain trim — could lift a peak back above that ceiling, undoing the protection. Putting the limiter last guarantees nothing re-introduces peaks after they've been controlled.
Is the mastering chain the same as the mixing chain? No. A mixing chain acts on individual tracks — the vocal gets its own EQ and compressor, the bass gets another — and every track has a different chain. The mastering chain acts once, on the finished stereo file, treating the whole song as a single piece. Mixing shapes the parts; the mastering chain shapes the sum after those parts are bounced to one file.
Can I change the order in the Audio Master tool? No, and that's by design. The tool runs a fixed, standard mastering order — high-pass, EQ, multiband compression, stereo width, then the limiter — because that sequence is the point of a mastering chain. A dependable, canonical signal flow is what lets each stage set up the next; letting you reorder it would mostly be a way to break the result.